A recording studio checklist is a structured reference covering everything musicians, bands, and engineers need to prepare for, book, run, and wrap up a professional recording session. A complete checklist addresses five phases: pre-production preparation, booking and logistics, day-of-session tasks, in-session recording steps, and post-session file management.
I have watched bands spend the first hour of a booked session restringing guitars, tuning drums, and arguing about tempo - all things that belong in the rehearsal room, not on a paying clock. This guide exists so that never happens to you.
It serves two audiences: musicians preparing to book and use a professional UK recording studio, and artists building their own home or project studio from scratch. Jump to the phase you need, or work through it end to end before your next session.
The five phases covered in this checklist:
- Pre-Production - everything before you set foot in a studio
- Booking and Logistics - confirming and planning your session
- Day of Session - what to bring and what to do before you arrive
- In-Session - setting up and recording like a professional
- Post-Session - file management, admin, and next steps
How to Use This Checklist
This is not a list to skim once and forget. Print it, save it to your phone, or bookmark it and return before every session.
If You're Booking a Professional Recording Studio
Start at Phase 1 (Pre-Production) and work forward. The booking checklist in Phase 2 is built specifically for UK studio sessions - it covers financial terms, equipment verification, and session planning steps that most musicians skip entirely and later regret.
If this is your first time in a professional studio, read the guide on how to prepare for your first studio session before going any further.
If You're Setting Up a Home or Project Studio
The Home Recording Studio Setup Checklist section is built for you. It covers hardware, software, acoustic treatment, and room layout - with a budget comparison table mapping entry-level, mid-range, and professional options across every category.
For a broader look at how the two environments compare, the recording studio vs home studio guide breaks down the trade-offs honestly.
Beginners vs. Experienced Musicians
Beginners should treat this as a mandatory, item-by-item checklist. The discipline of checking everything in advance builds the habits that experienced musicians rely on instinctively. Experienced musicians will move through Phases 1 and 3 quickly, but should pay close attention to Phases 2 and 5. Booking logistics and post-session administration are where even seasoned artists lose money or run into rights problems.
Five-phase overview: Pre-Production → Booking and Logistics → Day of Session → In-Session → Post-Session. Use it end-to-end or jump to the phase you need.
Phase 1 - Pre-Production Checklist
Pre-production is everything that happens before you book a studio date. It is, without question, the most neglected phase in the entire recording process - and the most expensive mistake you can make. Studio time costs money by the hour. Arriving without pre-production completed means you are paying professional rates to do work that belongs in your living room.
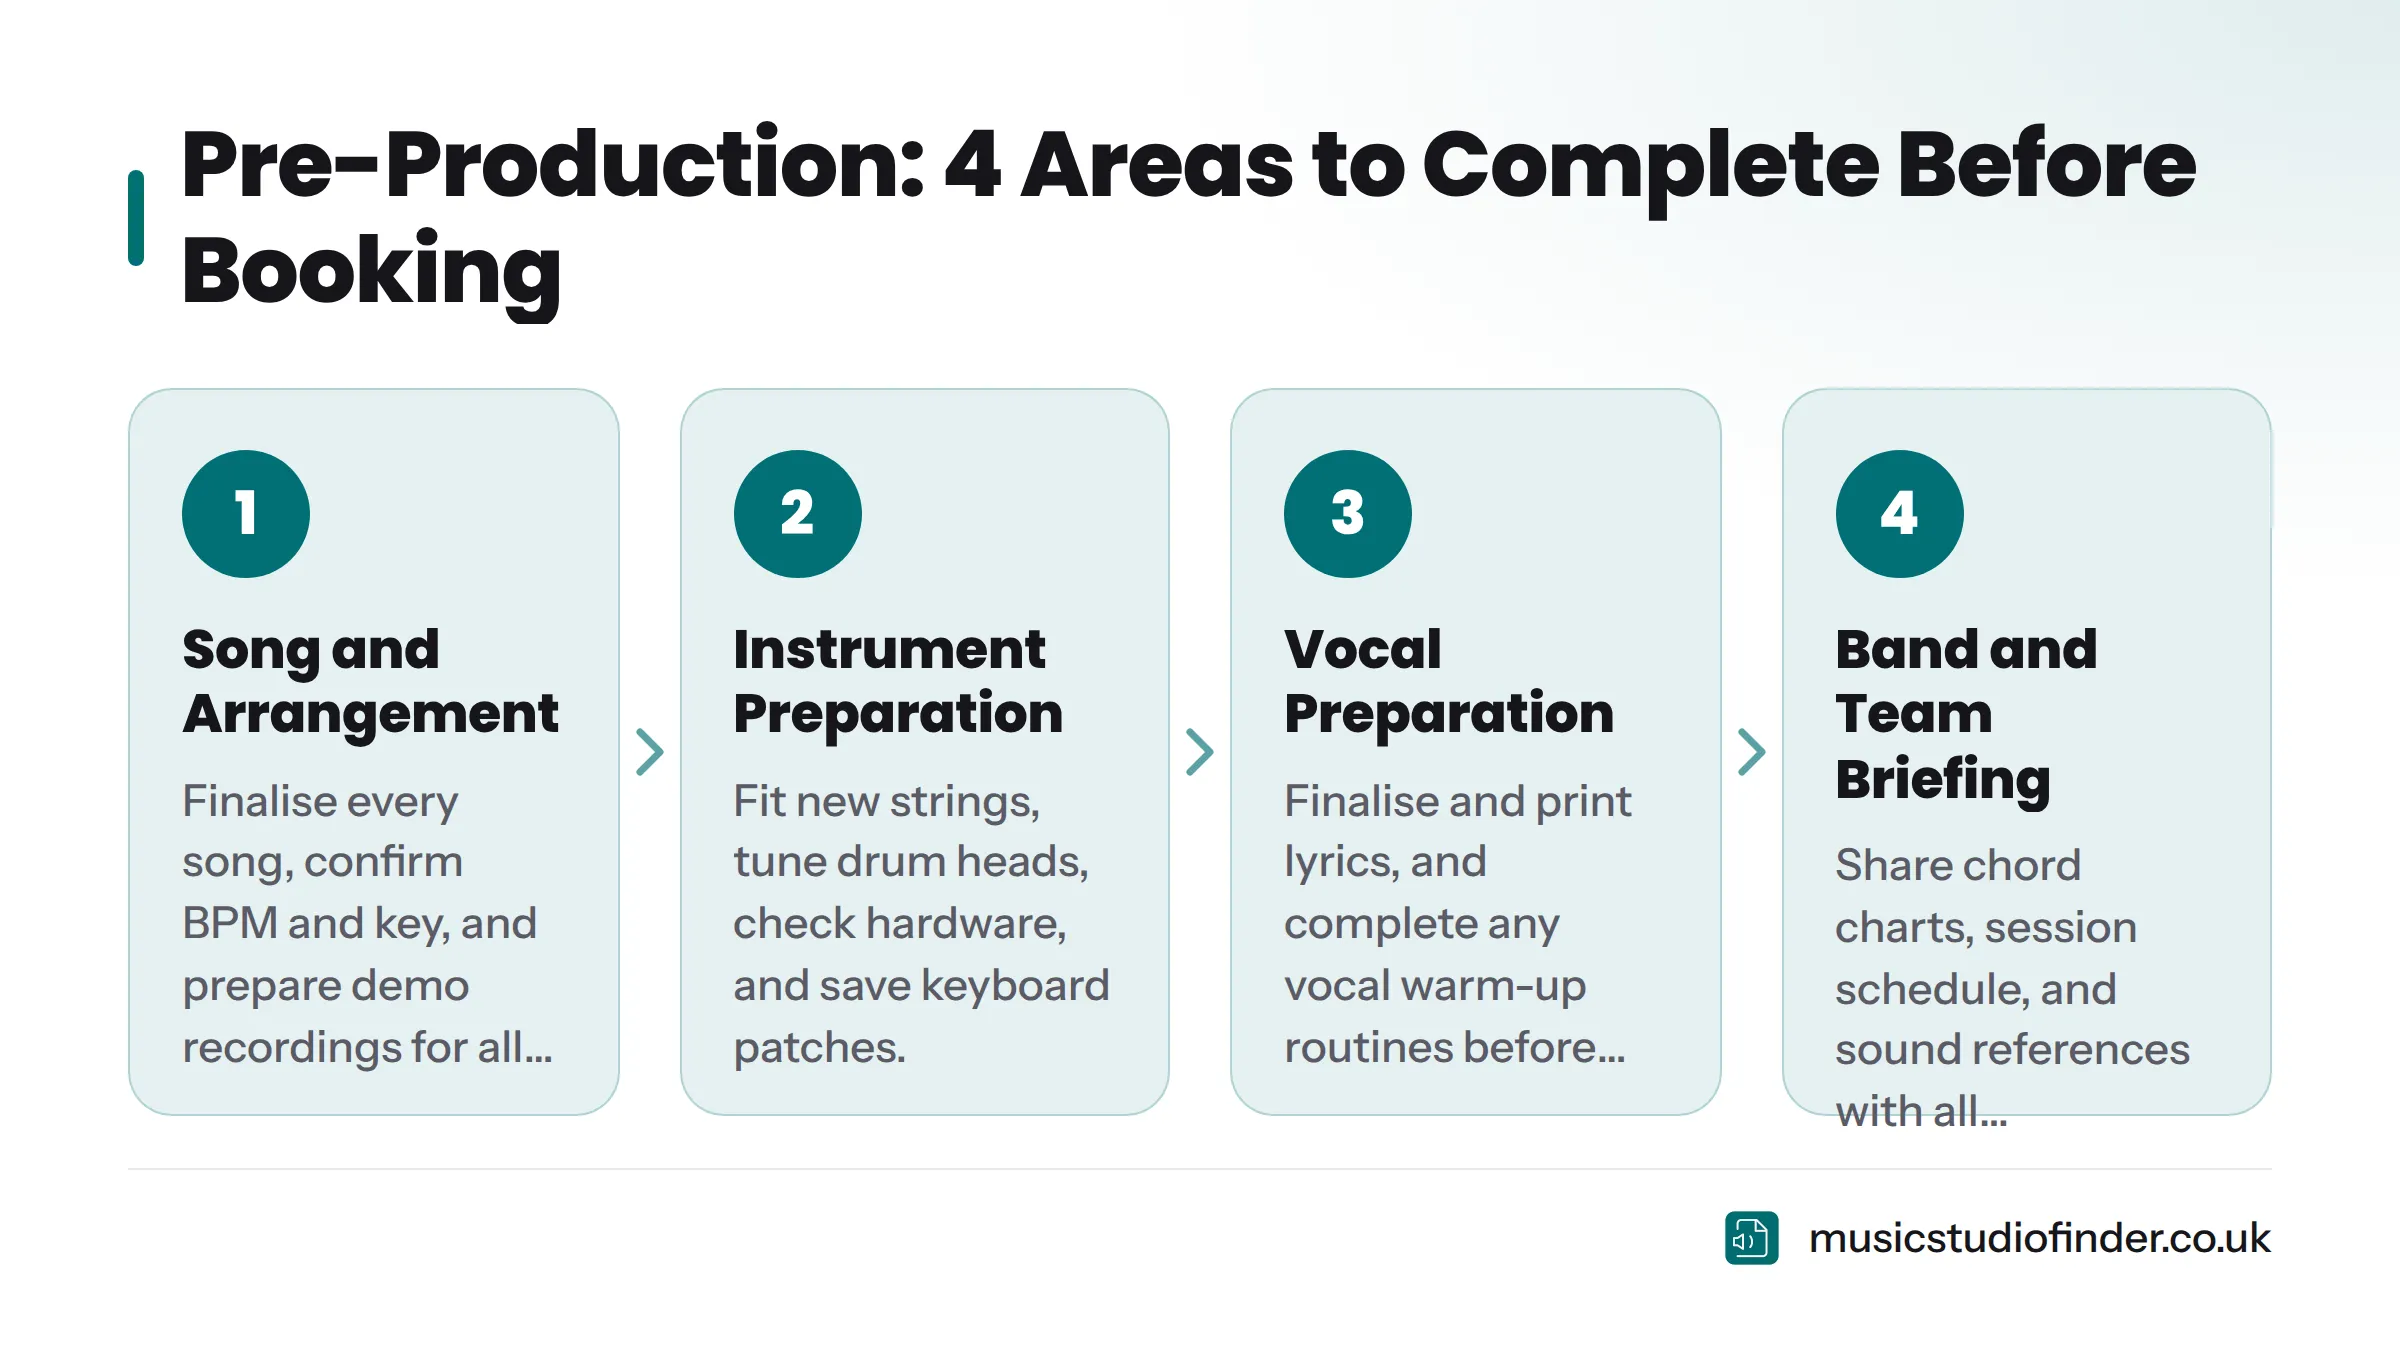
Pre-production: what this phase covers:
- Song and arrangement finalisation
- Instrument preparation
- Vocal preparation
- Band and team briefing
Song and Arrangement Preparation
- Songs fully written, arranged, and agreed by all performers
- Demo recordings made for each track (voice memo quality is fine - the point is a fixed reference)
- BPM confirmed for each song (use a metronome; agree the tempo before the session, not during)
- Key confirmed for each song and noted in writing
- Chord charts or lead sheets printed and distributed to all musicians
- Lyrics finalised, printed, and in a folder (not just saved on a phone that will need to stay silent)
- Click track or guide track prepared and ready to import into the DAW
- Planned track count and structure agreed (verse, chorus, bridge, outro - written down)
- Sound references agreed with the engineer (share a Spotify or Apple Music playlist in advance)
Instrument Preparation
- Guitars and basses: new strings fitted the day before the session (not the morning of - fresh strings need 12-24 hours to settle and hold tuning)
- Intonation checked and set correctly on all stringed instruments
- Drum kit: new heads fitted, kit tuned, and hardware checked for rattles and squeaks
- Cymbals checked for cracks
- Keyboards and synthesisers: patches saved, power supplies packed, any required USB dongles confirmed
- All instruments cleaned and free of extraneous noise (buzzes, rattles, loose parts)
- Spare strings packed for guitars and basses
Vocal Preparation
Vocalists are the most underprepared performers in most sessions. The voice is a physical instrument - it responds directly to what you do (and don't do) in the 48 hours before you record.
- Vocal rest for at least 24-48 hours before the session
- Adequate hydration in the days leading up (room-temperature water, not ice cold)
- No dairy products in the 24 hours before recording (dairy thickens mucus and coats the throat)
- No alcohol the night before
- No smoky environments pre-session
- Vocal warm-up exercises planned and timed for 20-30 minutes before recording begins
- Lyrics memorised, not just printed (reading from a sheet changes your performance posture and eye line)
Band and Team Preparation
- All band members confirmed for specific session dates and arrival times
- Parts rehearsed to performance standard - not "we know it," but "we can play it clean and consistent, take after take"
- Session musician roles clarified in writing if external players are involved
- Producer or engineer briefed on sound references, genre, and session goals before arrival
- A clear decision-maker agreed for the session - someone whose call is final when the group disagrees
Rule of thumb: if you are not fully rehearsed when you walk into the studio, you are paying studio rates to rehearse. Book a rehearsal studio first, nail your parts, then book your recording session.
Phase 2 - Booking and Logistics Checklist
This is where most musicians underinvest their time. Choosing a studio, confirming what it includes, negotiating terms, and planning the session in detail are all decisions that pay dividends on the day.
Booking phase: what this covers:
- Vetting and choosing the studio
- Financial and administrative steps
- Session planning
Choosing and Vetting the Studio
Not every studio that calls itself professional meets the same standard. Here is what to verify before you pay a deposit.
- Studio reviewed and rated - check Music Studio Finder listings for verified UK studios with real reviews
- Studio tour arranged or virtual tour viewed (you have a right to see the space before committing - read our guide on touring a recording studio before booking)
- Engineer's portfolio and credits reviewed - ask for examples of work in your genre
- Equipment list confirmed in writing (what microphones, interfaces, outboard gear, and DAW they provide)
- Acoustic treatment verified - does the live room suit your genre? A heavily damped room works for vocals but can kill the natural reverb a live drum kit needs
- Read our guide to what makes a recording studio professional before you sign anything
- Parking and transport access confirmed - arriving stressed because you couldn't park kills the session before it starts
Financial and Administrative Steps
Money surprises are the number one cause of post-session resentment. Avoid them by confirming everything in writing.
- Hourly rate or day rate confirmed in writing - see the recording studio day rate vs hourly rate guide for which to choose
- Hidden fees clarified upfront: mixing, mastering, session musician add-ons, file export, SSL outboard use - all may carry additional charges (see recording studio hidden fees)
- Deposit terms confirmed: amount, payment method, and refund conditions (check whether deposits are refundable before you pay)
- Total session budget agreed by everyone involved
- Session contract or booking agreement signed by all parties
- Split sheet prepared if the music involves more than one writer (see the FAQ section below for why this matters)
- Recording rights agreement prepared if session musicians are involved - the Musicians' Union UK publishes standard session agreement templates
For a full picture of what UK studios charge in 2026, the recording studio cost UK guide has current pricing data by city and studio tier.
Session Planning
- Number of hours estimated and booked - read how many hours to book in a recording studio if you are unsure
- Session schedule and running order written and shared with engineer before the day
- File format requirements agreed in advance: 24-bit WAV at 48kHz is standard for most professional UK sessions; 96kHz for sessions intended for high-resolution distribution
- Session goals written and confirmed: how many tracks to record, which instruments to record live, which to overdub
- Engineer briefed on genre, specific sound references (name the records, not just the vibe), and any technical requirements
What the Studio Provides vs. What You Should Bring
This is one of the most common sources of day-of-session chaos. Settle it in advance.
| Studio Typically Provides | You Should Bring or Confirm |
|---|---|
| DAW workstation and software licence | Your session files or project template |
| Core microphones (usually 2-4 options) | Specific microphones if you have strong preferences |
| Studio monitors (near-field, calibrated) | Closed-back headphones for tracking |
| Audio interface (rack-mounted) | Your own instrument cables (bring spares) |
| Mic stands and pop filters | Your own instruments in hard cases |
| Outboard gear (varies by studio) | Reference tracks on USB or as a playlist |
| Acoustic treatment in the live room | Printed chord charts and lyrics |
| Headphone monitoring system | External hard drive for session backup |
| Engineering expertise and direction | Snacks, water, and patience |
For a deeper look at what is included when you hire a studio, read what's included when you hire a recording studio.
Phase 3 - Day-of-Session Checklist
The day-of checklist is short by design. If Phases 1 and 2 are complete, the day itself should feel calm and focused. If Phase 1 is incomplete, no day-of checklist will save the session.
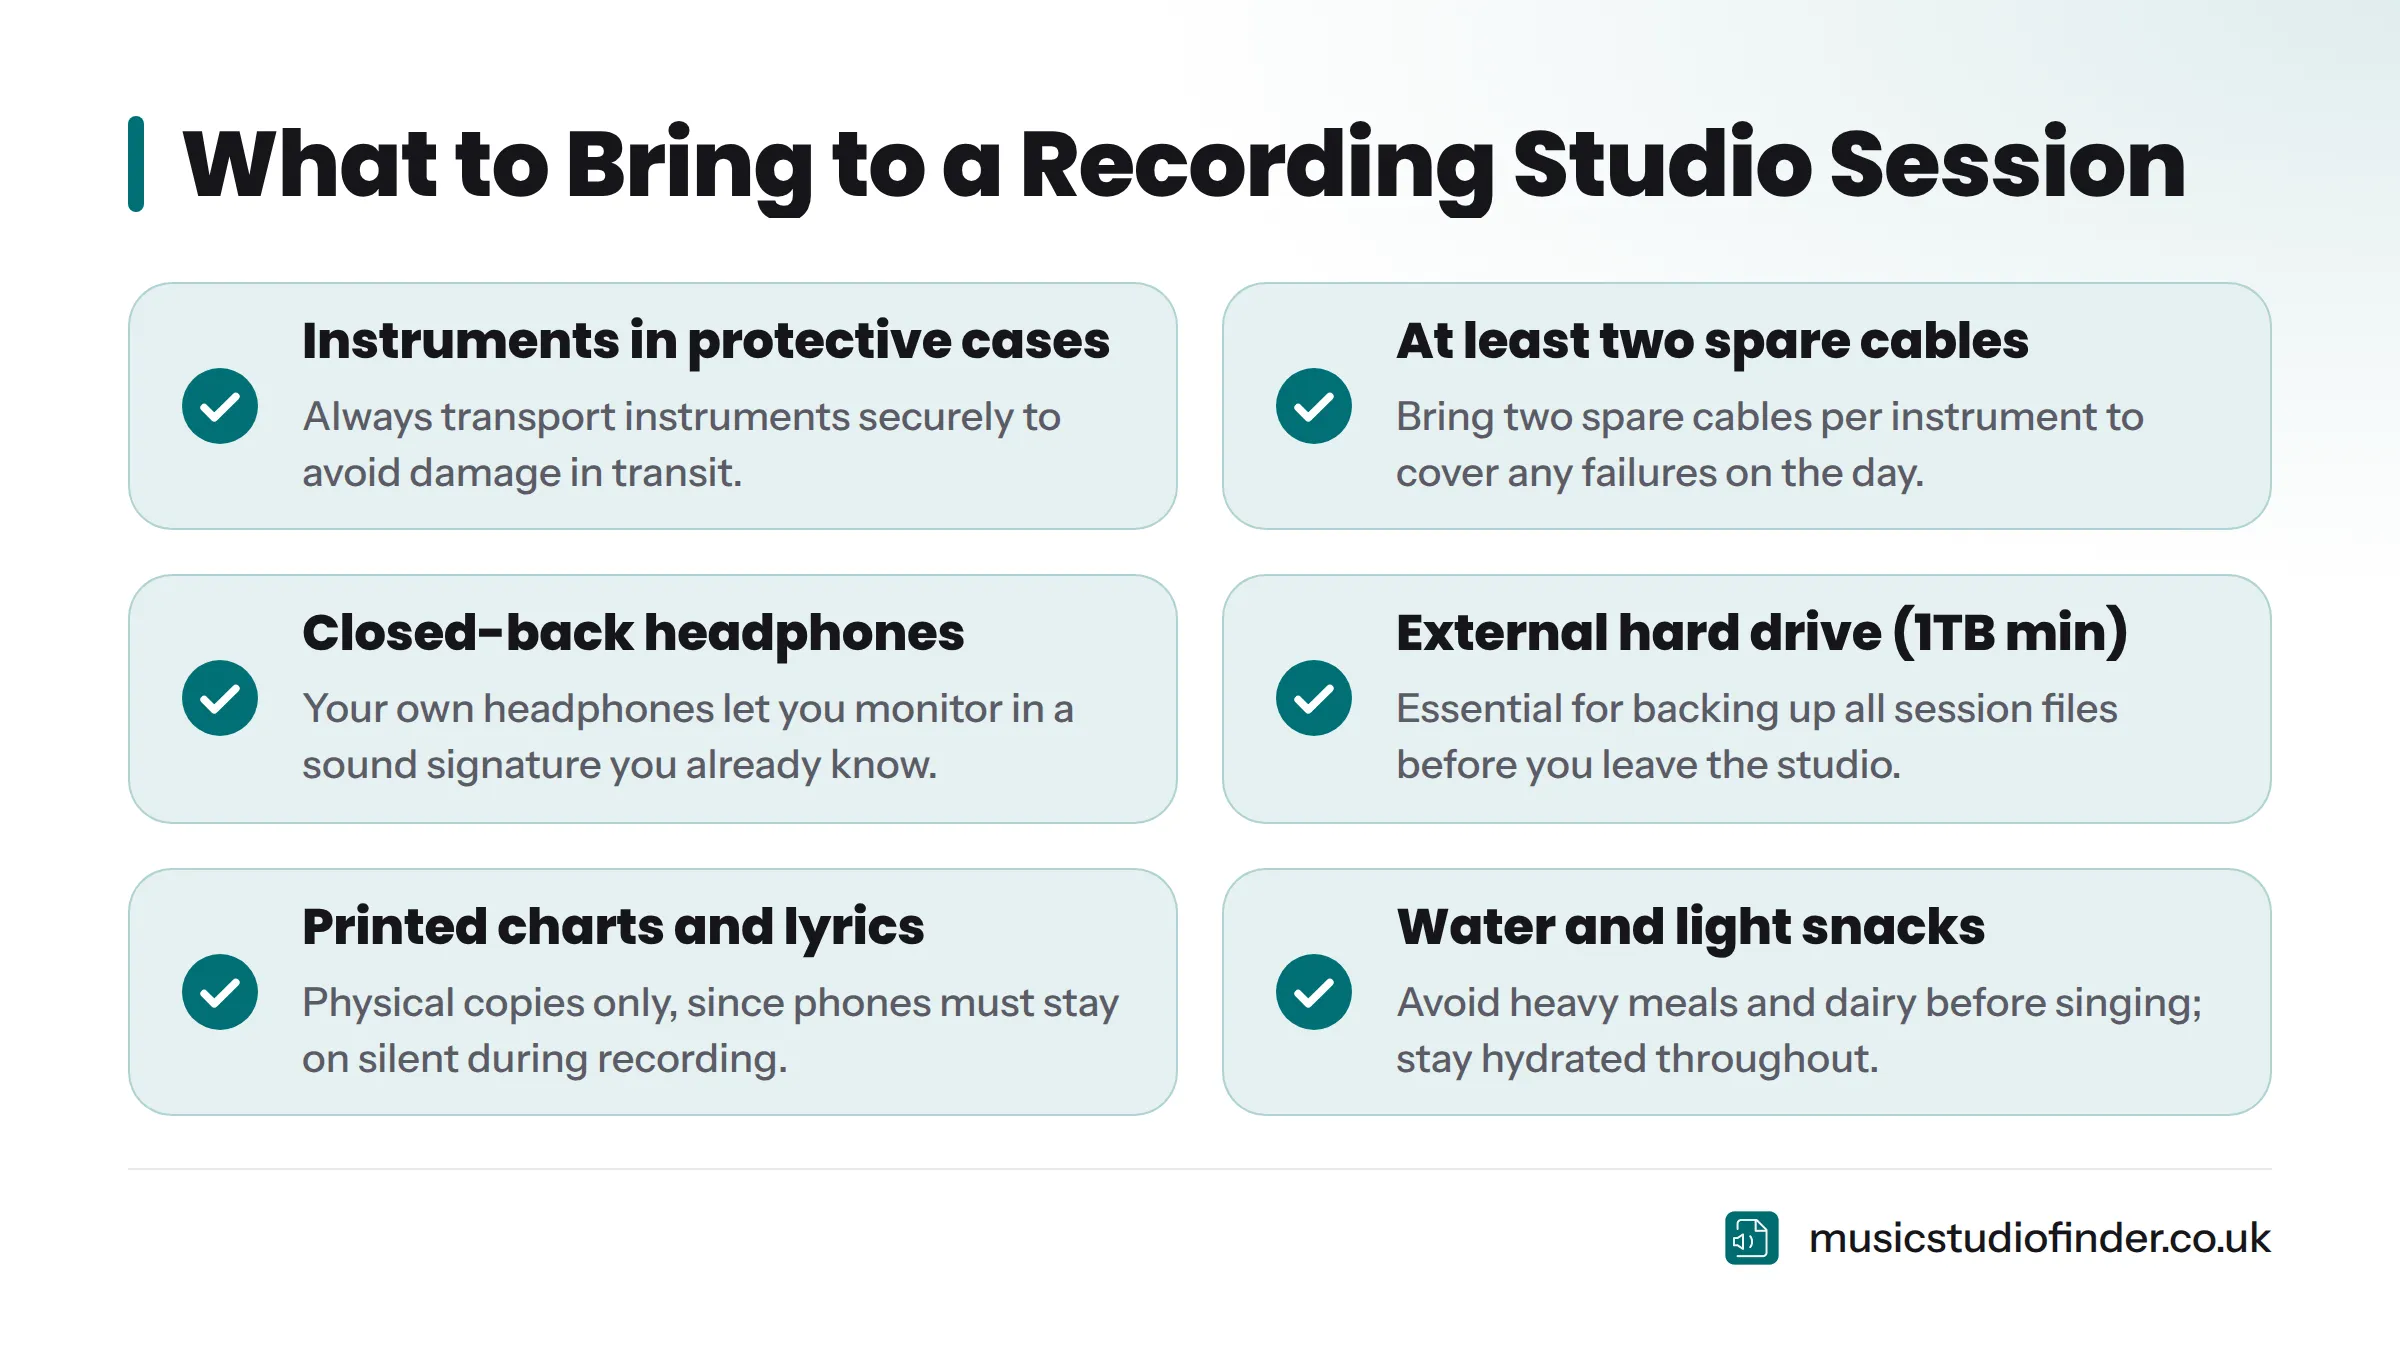
What to Bring to a Recording Studio
This is your studio session preparation packing list - the music studio essentials you should never leave the house without.
- All instruments in protective cases
- Instrument cables - at least two spares per instrument
- Power supplies, adaptors, and backup batteries for pedals and keyboards
- Closed-back headphones (most studios provide headphones, but bringing your own means monitoring in a sound signature you know)
- Reference tracks loaded on a USB drive or phone playlist
- Printed chord charts, lyrics, and the session schedule - physical copies only, since phones go on silent
- External hard drive (1TB minimum) for session backup
- Water - room temperature for vocalists, cold is fine for everyone else
- Snacks: fruit, nuts, protein bars - avoid heavy meals and avoid dairy if you are singing
- Notebook and pen for session notes, punch-in markers, and mixing notes
- Engineer's phone number saved and confirmed
For a detailed breakdown of everything to pack, the what to bring to a recording studio session guide has a printable version.
Before You Leave Home
- Instruments tuned and packed securely
- All equipment checked against your gear list (do this the night before, not at the door)
- Travel time calculated with buffer - allow 15-30 minutes for setup on top of your arrival time
- Phone charged and set to go on silent the moment recording begins
- Session time confirmed with studio (a quick message the morning of prevents miscommunications)
Arrive at least 20-30 minutes early. Rushed setups produce poor tones, overlooked problems, and a nervous energy that the microphone will capture faithfully.
For a full session prep walkthrough, the studio session prep checklist is worth reading the evening before.
Phase 4 - In-Session Checklist
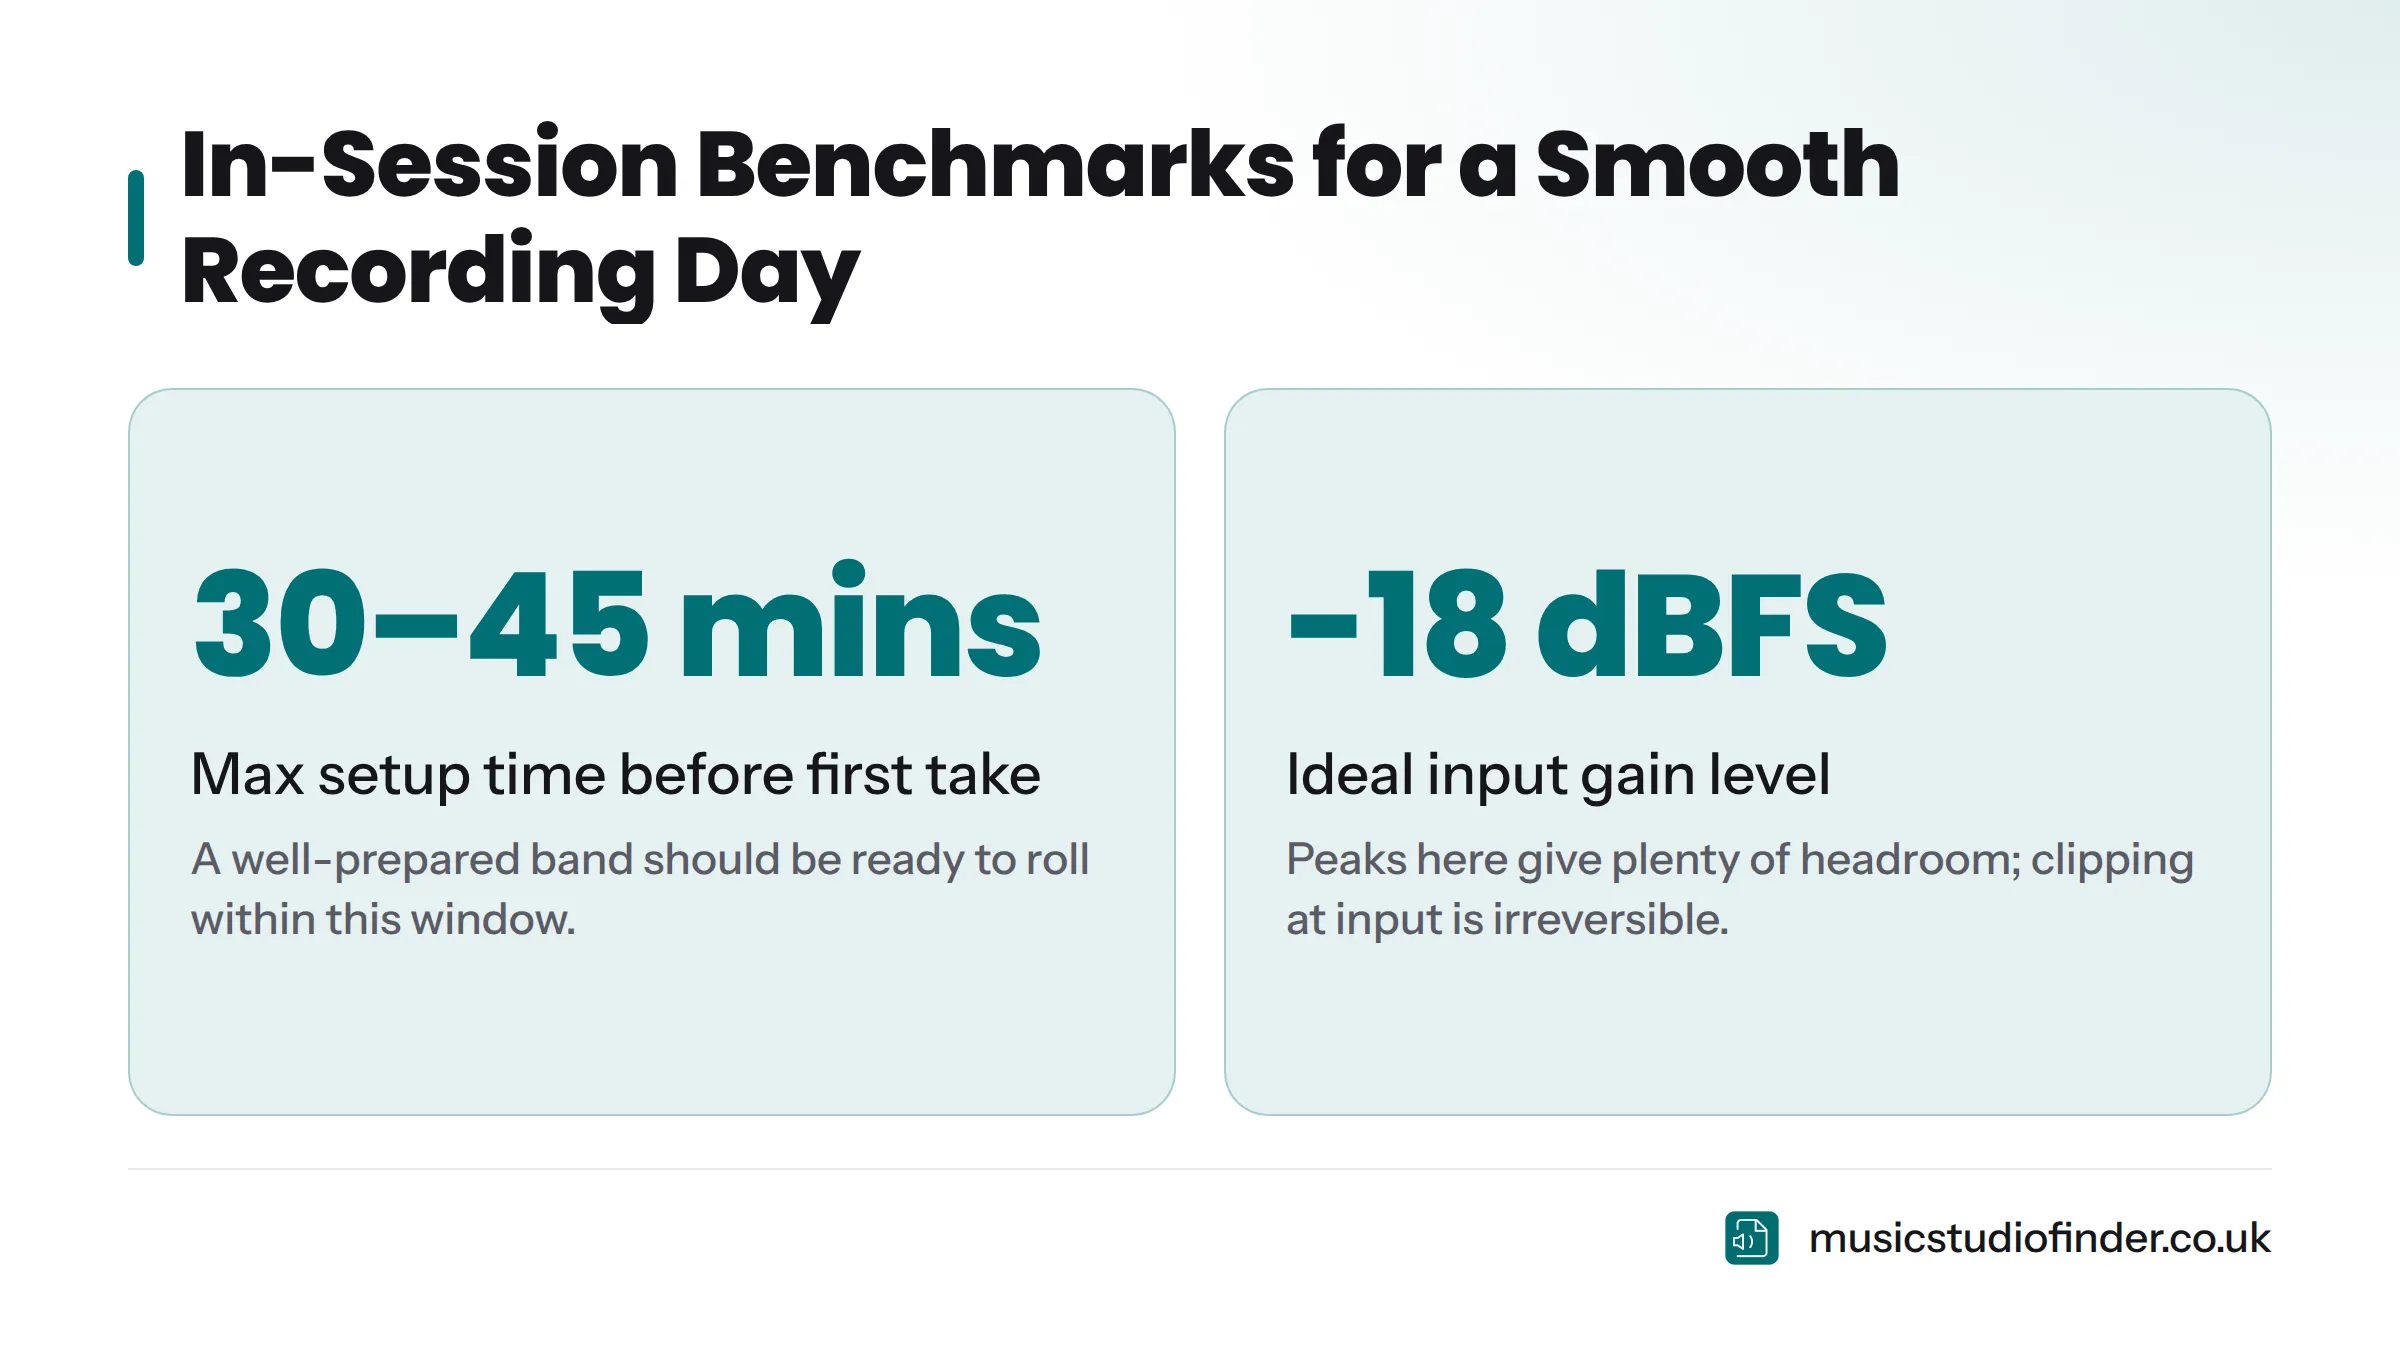
This is where preparation pays off - or the lack of it costs you. A well-prepared band should spend no more than 30-45 minutes on setup before the first real take rolls.
In-session phase: what this covers:
- Signal chain verification
- Recording best practices
- Communication between engineer and performer
Studio Setup and Signal Chain Verification
The signal chain - the path audio travels from instrument to recording - must be verified before a single take. Problems discovered after three hours of recording can render everything unusable.
- Confirm DAW is loaded with the correct project template and session settings
- Audio interface routing verified: inputs assigned to correct tracks, outputs feeding monitors and headphone amps correctly
- Microphone placement checked for each instrument - small adjustments in mic position change the recorded tone dramatically
- Gain staging set correctly: input signal peaking at around -18 dBFS gives plenty of headroom without clipping (clipping at the input stage is irreversible)
- Phantom power (48V) confirmed active for condenser microphones, and confirmed OFF for any ribbon microphones in the chain
- Headphone mixes created and approved by each performer before the first take - a performer who cannot hear themselves clearly will not perform to their potential
- Click track or metronome set at the confirmed BPM and checked in everyone's headphone mix
- All instruments re-tuned in the studio environment (temperature change affects pitch - always retune after setup)
- Amp settings dialled in and checked for hum, buzz, or ground loop noise - an amp hum that sounds small in isolation is loud in a condenser microphone
Recording Best Practices
- Record a rough take first without stopping to adjust settings - it identifies problems and sometimes produces the best performance of the session
- Label every track clearly in the DAW: instrument name, microphone used, and take number (Track 01 / Vocal / SM7B / Take 03, for example)
- Keep all takes - do not delete anything during the session; comping decisions belong in post-session review
- Autosave enabled, and manual save triggered at the end of every complete take
- Recording levels checked after each take (clipping discovered late is clipping you cannot fix)
- Regular breaks scheduled: vocalist rest every 45-60 minutes of active singing, full band break every 90-120 minutes
- Session schedule monitored by one designated person - without active time management, sessions overrun by 30-60% on average
For the full set of professional in-session behaviour standards, read the recording studio etiquette guide.
Communication During the Session
Poor communication between performer and engineer is the second most common cause of wasted session time, after under-rehearsal.
- Agree on cue words or talkback signals between engineer and performers at the start of the session
- Confirm monitor mix preferences before rolling the first take
- Voice adjustments and concerns between takes, not in the middle of them
- Engineer checks in with the performer after every complete take - not just the ones that feel wrong
Live Band vs. Solo Artist vs. Vocalist - What Changes
Live band session: Signal chain setup takes longer. You need individual headphone mixes for every performer - often four to six separate cue mixes. Drum tracking typically happens first; it anchors everything else. All instruments need to be in the room, and amplifier isolation should be considered (baffles or separate rooms for amps to prevent bleed).
Solo artist or singer-songwriter: Setup is faster but the performance pressure is higher. There is no band energy to lean on. Building a solid guide track - typically guitar or piano - before recording the vocal helps maintain phrasing and dynamic consistency across takes.
Dedicated vocal session: Mic choice and position are everything. A large-diaphragm condenser microphone (such as the Neumann TLM 102 or U87 Ai) with a shock mount and pop filter is standard. The headphone mix must be right before recording begins - vocalists perform to what they hear, and a poor mix produces a forced performance.
Phase 5 - Post-Session Checklist
The post-session phase is completely absent from most recording guides online. It is also where I see artists lose the most value from their sessions - through poor backup practice, missed admin, and unresolved rights paperwork. Do not leave the studio until this phase is complete.
Before You Leave the Studio
- All takes reviewed and selects agreed with the engineer - mark preferred takes in the DAW before the session ends
- Session files backed up to your external hard drive before you leave the building (do not rely on the studio keeping your files - they may overwrite their drive for the next client)
- Export format confirmed with the engineer: 24-bit WAV at 48kHz is the professional standard; request 96kHz if your project targets high-resolution streaming or film sync
- Stems exported if required for mixing or for a producer working in a separate session
- All equipment collected and inventoried against your gear list - cables, power supplies, instrument accessories
- Next session or mixing session booked before you leave (studios often offer a discount for repeat bookings)
- Payment confirmed, receipt obtained, and stored
After the Session
- Session backup verified on two separate drives - a single backup is one hardware failure away from total loss
- Mixing notes written up clearly and sent to the engineer or mixer within 24 hours while the session is fresh
- Split sheets signed by all contributing songwriters - a split sheet records who wrote what percentage of each song; PRS for Music recommends completing these before any recording takes place, not after
- Recording agreements signed by all session musicians involved
- Session credits documented: studio name, engineer name, session musician names, instruments played, recording date
- Feedback left for the studio on Music Studio Finder - your honest review helps other UK musicians make informed decisions
Home Recording Studio Setup Checklist
Building a home studio is a different undertaking from preparing for a booked session, but the same principle applies: check everything against a list before you spend money. A poorly planned purchase order leads to mismatched equipment, acoustic problems, and years of making records in a room that sounds wrong.
Essential Hardware Checklist
This is the core recording studio equipment list for anyone starting from scratch.
- Computer: Mac or PC with at least 16GB RAM and a fast SSD; audio production demands consistent read/write speeds that spinning hard drives cannot reliably provide
- Audio interface: the bridge between your microphones and your computer - this single piece of equipment defines your recording quality ceiling
- Studio monitors: near-field monitors positioned correctly reveal mix problems that headphones hide; monitor placement (equilateral triangle, tweeter at ear level) matters as much as monitor quality
- Closed-back headphones for tracking (players monitoring their own performance) and open-back headphones for mixing and critical listening
- Large-diaphragm condenser microphone for vocals and acoustic instruments
- Dynamic microphone (such as the Shure SM7B or SM58) for drums, amplifiers, and high-SPL sources
- Microphone stand, pop filter, and shock mount - these are not accessories, they are part of the signal chain
- Balanced XLR cables and instrument cables - buy quality cables once; cheap cables introduce noise and fail at the worst moments
- MIDI controller or keyboard for triggering software instruments and programming drums
- DI box for recording electric guitar and bass direct - bypasses the amplifier and captures a clean signal for re-amping later
Home Studio Equipment by Budget
| Category | Entry-Level (£300-£800) | Mid-Range (£800-£3,000) | Professional (£3,000+) |
|---|---|---|---|
| Audio Interface | Focusrite Scarlett Solo / 2i2 | Universal Audio Volt / Apollo Solo | Universal Audio Apollo 8 / SSL 2+ |
| Microphone | Audio-Technica AT2020 | Rode NT1 / AKG C214 | Neumann TLM 102 / U87 Ai |
| Monitors | Yamaha HS5 / KRK Rokit 5 | Adam Audio T7V / Genelec 8020 | Genelec 8030 / Adam Audio S2V |
| Headphones | Audio-Technica M40x | Beyerdynamic DT 770 Pro | Sennheiser HD 650 / Sony MDR-7506 |
| DAW | Reaper / GarageBand | Logic Pro / Ableton Live Standard | Pro Tools Ultimate / Cubase Pro |
The Focusrite Scarlett range dominates the entry-level UK market for good reason - low latency, clean preamps, and reliable drivers on both Mac (Core Audio) and Windows (ASIO). At mid-range, Universal Audio's Apollo Solo adds onboard DSP processing that removes software plugin latency entirely during tracking. At professional level, an Apollo 8 or SSL 2+ interface provides the preamp quality and routing complexity that professional sessions demand.
Software and Plugins Checklist
- DAW installed, licensed, and updated - Reaper is an outstanding entry-level choice at £60 for personal use; Logic Pro at £199 is the dominant choice in UK mid-range home studios
- Core plugin bundle covering EQ, compression, reverb, and delay - most DAWs ship with capable stock versions; buy third-party plugins only when you have a specific, identified gap
- Virtual instruments if applicable: software synthesisers, drum machines, and samplers
- Hardware or software tuner
- Reference analysis tool: SPAN (free) or Tonal Balance Control for checking your mix against commercial reference tracks
- Cloud backup system for all project files - a local drive backup plus cloud backup covers hardware failure and theft
Acoustic Treatment Checklist
Acoustic treatment is not soundproofing. Soundproofing prevents sound from leaving the room. Acoustic treatment controls how sound behaves inside the room. Most home studios need treatment far more urgently than soundproofing. An untreated room produces standing waves and flutter echo that make mixes sound different on every other playback system - that is why mixes made in untreated rooms rarely translate.
- Primary reflection points treated: first-reflection panels on the side walls at the point where sound bounces from your monitors to your ears
- Bass traps in room corners: low frequencies build up at corners and cause bass-heavy mixes that sound thin on external systems. Thick broadband absorbers (10cm or more) in all four vertical corners address this
- Rear wall treatment: absorption or diffusion panels behind the mix position
- Floor coverage: a rug or carpet reduces flutter echo between the floor and ceiling
- Window and door gaps sealed with draught-excluding tape for basic sound isolation
- Room measured with acoustic measurement software - Room EQ Wizard (REW) is free and industry-standard; it shows exactly where your room's frequency response problems lie
Studio Layout and Ergonomics Checklist
- Monitor placement: equilateral triangle - monitors and your listening position form an equal triangle, with monitors angled toward your ears
- Tweeter height at ear level when seated at the mix position
- Desk or studio furniture at a comfortable working height
- All cables labelled and managed - unlabelled cables lead to wrong connections and wasted troubleshooting time
- Lighting non-reflective and adjustable for long sessions
- Adequate ventilation: recording equipment generates significant heat; a poorly ventilated room shortens equipment life and makes long sessions uncomfortable
Genre-Specific Recording Checklists
Live Band, Rock, and Pop Session Checklist
- Drum isolation planned (baffles, separate amp room, or recorded at different times)
- Individual headphone cue mixes created for every performer - minimum four mixes in a standard band setup
- Bass and guitar DI signals recorded alongside amp signals (gives mixing options)
- Room microphone set up for drum ambience (even if you don't use it, capturing the option costs nothing)
- Live takes prioritised where the band's energy matters more than individual performance perfection
Hip-Hop, Electronic, and Beat Production Checklist
- Beat finalised and exported as a stems file or loaded into the studio's DAW before the session
- BPM locked and confirmed - rap vocals recorded to a floating BPM create quantising nightmares in post
- Reference tracks from the target label or playlist shared with the engineer beforehand
- Vocal chain preferences discussed: compression style, reverb character, and any specific hardware units requested
- Multiple vocal takes of every line planned - comping is a central part of hip-hop vocal production
Vocal Recording and Singer-Songwriter Checklist
- Guide track (guitar or piano) recorded first to anchor the vocal performance
- Mic and vocalist position tested with brief test takes before recording begins - distance from the microphone changes the low-frequency proximity effect and the recorded tone significantly
- Vocal warm-up completed before the first real take rolls
- Headphone mix includes a touch of reverb on the vocal to make monitoring comfortable without over-reverbing the recorded signal
- Double-tracking passes planned for chorus sections
Podcast and Voice-Over Recording Checklist
- Dynamic microphone preferred for voice-over in an untreated space (less sensitive to room reflections than a condenser)
- Reflection filter or portable vocal booth confirmed with studio if recording in a live room
- Script formatted for easy reading - large font, wide margins, no staples
- Proximity and mouth noise checked in a test take before the full session begins
- Recorded at 48kHz / 24-bit WAV for broadcast compatibility; MP3 conversion is a post-production step, never a source format
Common Recording Session Mistakes - And How to Avoid Them
These problems come up repeatedly in professional UK studios. Every one of them is preventable.
Arriving unrehearsed. Bands that cannot play their parts cleanly in a room on their own will not play them cleanly in a studio. Book a rehearsal room, record your rehearsal on a phone, listen back, and fix the problems before the session.
Not checking equipment before the day. A broken cable, a dead battery in a keyboard, a guitar that buzzes at the third fret - these problems should surface during pre-production, not at the studio on a paying clock.
Skipping the headphone mix. A performer's headphone mix directly shapes their performance. A vocalist who cannot hear themselves clearly will push harder, go sharp, and sound uncomfortable. Set the headphone mix first, every time.
Not backing up session files. Studios record dozens of sessions every month. Their drives fill up. Some studios explicitly state in their terms that session files are only held for a fixed period. Back up to your own drive before you leave the room.
Running over time by not monitoring the schedule. Studio sessions drift naturally - an extra take here, a tone-chasing detour there. Assign one person in the session the specific job of watching the clock against the schedule.
Not communicating sound goals with the engineer. Saying "I want it to sound big" tells an engineer nothing. Saying "I want the drums to sit like the first album by The National, and the vocals to have the warmth of an early Arctic Monkeys record" gives them something to work with. Prepare references before the session.
Not eating or drinking properly before a vocal session. A vocalist who arrives dehydrated or who has eaten heavily immediately before recording will have a compromised performance. Hydration directly affects vocal fold flexibility and vocal range - it is straightforward physiology, not superstition.
Frequently Asked Questions
What is the most important thing on a recording studio checklist?
Rehearsal. No recording studio equipment list, acoustic treatment, or engineering skill compensates for underrehearsed performances. Everything else on the checklist supports a performance - only the musician can deliver one. Arrive fully rehearsed and the rest of the checklist does its job.
What equipment does a professional recording studio need?
A professional recording studio needs a calibrated DAW workstation running industry-standard software (Pro Tools, Logic Pro, or Cubase are most common in the UK), a high-quality audio interface, at least two to four microphone options (a large-diaphragm condenser, a dynamic mic, and ideally a ribbon mic), near-field studio monitors, a full headphone monitoring system with individual cue mixes, acoustic treatment in both the control room and live room, and a signal chain free of ground loop noise or electrical interference.
What should I bring to my first recording studio session?
Bring your instrument in a protective case, two to three spare cables, your own closed-back headphones, a USB drive with reference tracks and any project files, printed charts and lyrics, an external hard drive for backup, and water. Leave your phone on silent. Arrive 20-30 minutes early. For a beginner-specific guide, see can beginners use a professional recording studio.
How do I prepare my band for a recording studio session?
Schedule at least two full rehearsals in the weeks before the session, specifically to run through the material as you plan to record it. Record those rehearsals on a phone and review them. Fix every performance issue, every timing problem, and every arrangement ambiguity before the session date. Confirm session times and roles with every band member in writing.
What is a split sheet and do I need one before recording?
A split sheet is a written agreement between all contributing songwriters that records each writer's ownership percentage of a composition. You need one before recording begins - not after. Once a recording is made and potentially released, unresolved ownership disputes become far more complicated and expensive to settle. The Musicians' Union UK publishes guidance on songwriter agreements. PRS for Music requires accurate ownership splits when you register a song for performance royalties.
How long should I book a recording studio for?
A solo vocalist recording three to four songs with pre-recorded backing tracks typically needs four to six hours. A live band tracking drums, bass, and guide guitar for an EP (four to five songs) should allow a full day (eight hours) for tracking alone, with mixing sessions separate. The recording studio hours to book guide has detailed estimates by setup type and experience level.
What is the difference between a home studio and a professional recording studio?
A professional recording studio offers acoustic design built from the ground up - controlled room modes, purpose-built isolation, calibrated monitoring, and a range of high-end microphones and outboard gear that would cost tens of thousands to replicate at home. A home studio offers unlimited creative time, no booking costs, and the comfort of your own space - but rarely the acoustic neutrality or equipment range of a professional facility. Most working musicians use both: writing and demoing at home, tracking and mixing in a professional studio.
Can beginners use a professional recording studio?
Yes - with the right preparation. A professional engineer's job is to make great recordings, and they work with musicians at every experience level. The key is arriving rehearsed, communicating your goals clearly, and trusting the engineer's expertise. The most common beginner mistake is not the inexperience itself but the failure to prepare.
How do I find a recording studio in the UK?
Music Studio Finder lists verified recording studios across the UK, with photos, equipment lists, pricing, and genuine reviews from musicians who have recorded there. Use it to search by location, budget, and genre specialism before making any booking decision. See recording studios in London as a starting point if you are based in the capital.
What should I check before booking a recording studio?
Confirm the equipment list (what microphones, interface, and DAW they use), the engineer's credits in your genre, the acoustic setup of the live room, the hourly or day rate, all additional fees, deposit and refund terms, and parking. Get everything confirmed in writing before paying. The full what to look for when booking a recording studio guide walks through every step.
Find a Professional Recording Studio Near You
Every musician deserves to record in a space that works for them - acoustically, technically, and financially. Music Studio Finder is the UK's dedicated platform for discovering and comparing professional recording studios, with verified listings, real equipment details, and honest reviews from other musicians.
Whether you are tracking your debut EP in London, recording a full album in Manchester, or searching for a voice-over studio in Edinburgh, use Music Studio Finder to compare options before you commit. Studios listed on the platform include The Recording Studio London, Offbeat Recording Studio Edinburgh, and many more across England, Scotland, Wales, and Northern Ireland.
Use this checklist. Arrive prepared. And record something worth keeping.